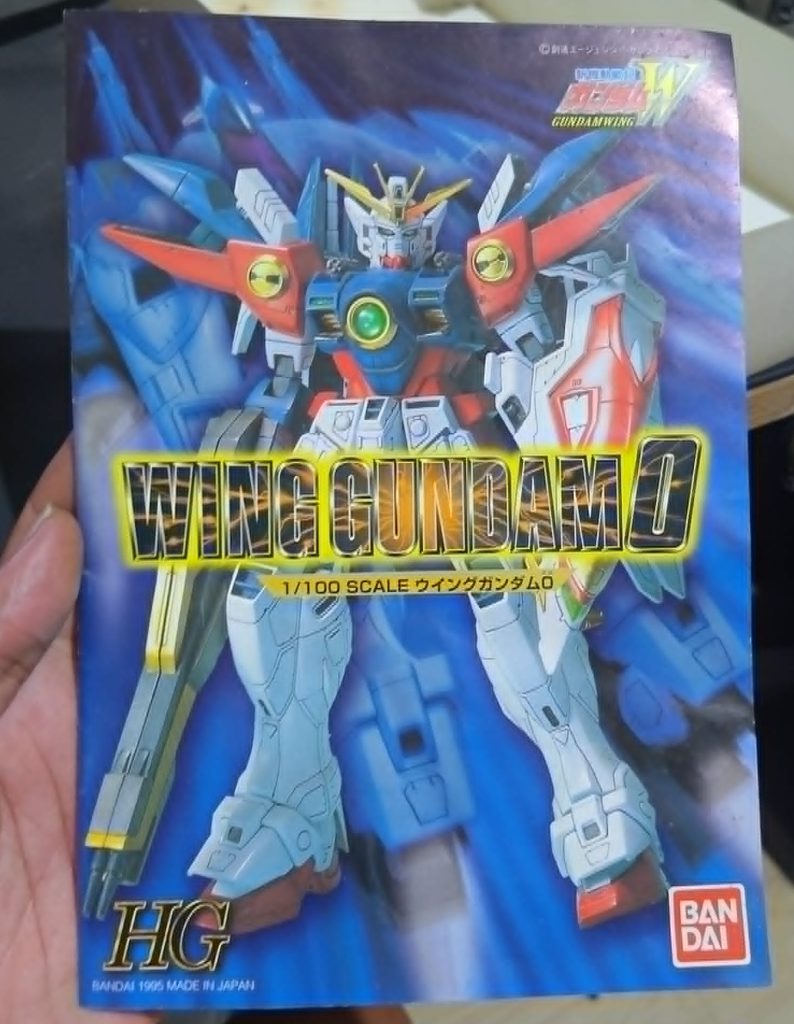
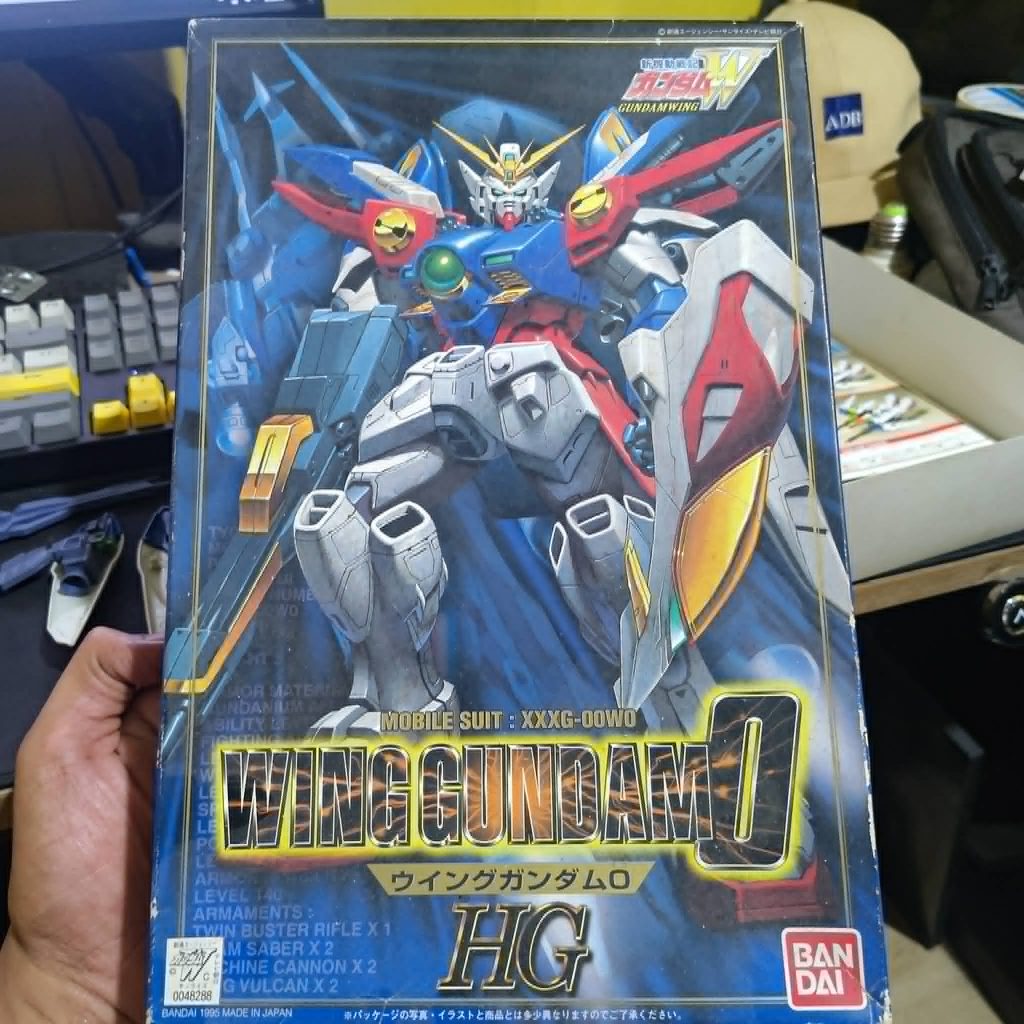
I built this kit wrong. That is not self-deprecation, it is just accurate. The 1/100 HG Wing Gundam Zero, Bandai 1995, assembled sometime in my teens with zero finishing knowledge. No sanding, no panel lines, no primer. Parts clicked together and that was considered done. The gunpla repair tools I needed back then did not exist in my toolkit because I did not know I needed a toolkit.
I had the complete set once. Wing Zero is the only one that made it.
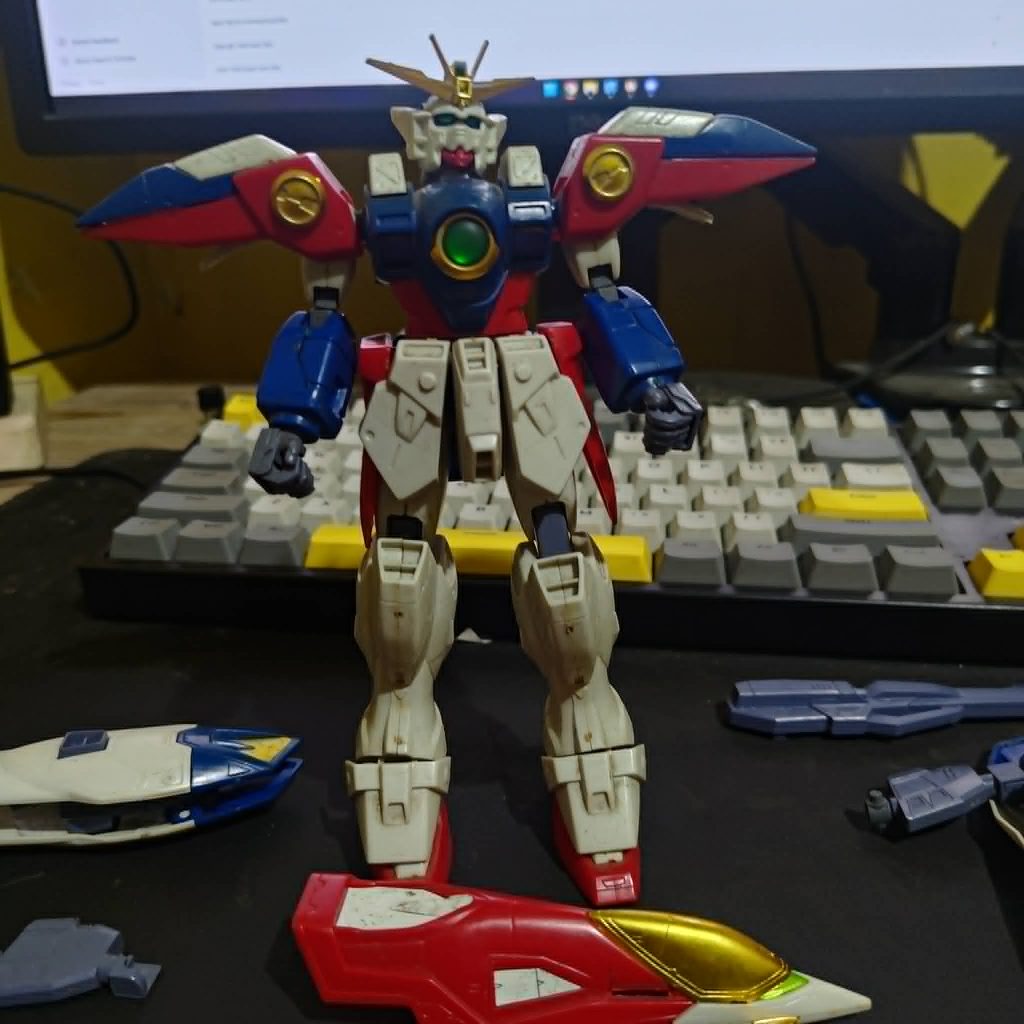
I pulled it out recently and laid everything on the desk to assess. Here is what actually needs fixing and what does not.
The patina stays
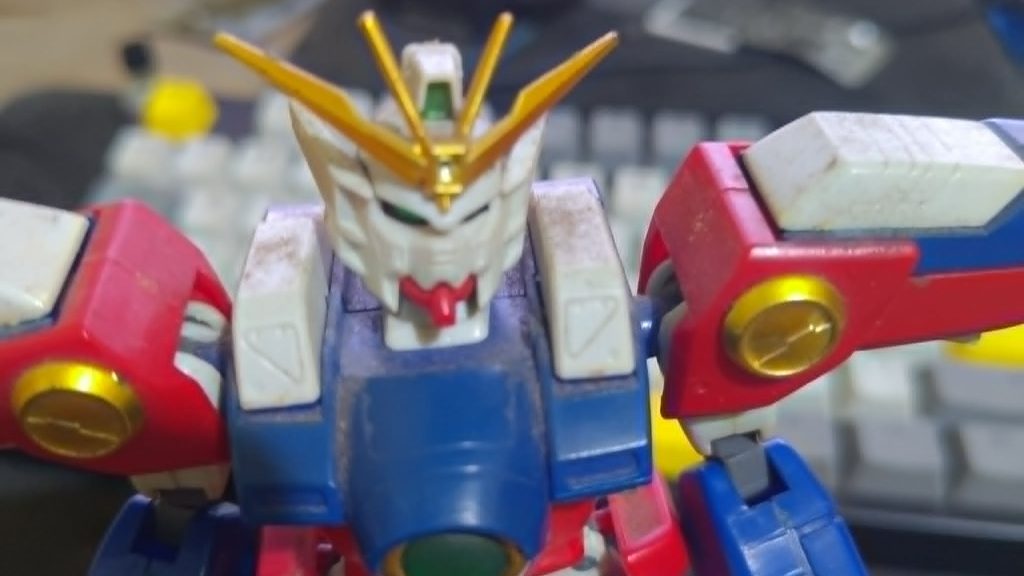
The white plastic has gone cream and tan over thirty years. UV oxidation on ABS is irreversible without chemical treatment or paint, and I am doing neither. This is not neglect. It is what the material does over time. On a kit this old it reads the same way rust reads on iron or verdigris reads on copper. The patina is part of the object now.
If the two-tone bothers you on your own kit, that is a valid reason to repaint. On this one it does not bother me. Moving on.
What actually needs work
Nub marks: the most visible problem and the easiest fix
Every gate point where parts were cut from the runner is still rough. I did not know to sand them at the time and it shows on every visible armor panel. Nub marks catch light the wrong way and read as unfinished because they are unfinished. Among the gunpla repair tools worth buying, the ones for nub cleanup are the most immediately impactful because the results are visible from across the room.
The method is straightforward. A sharp Tamiya hobby knife shaves the nub flat first, getting it close to flush without grinding into the surrounding surface. From there, sanding sticks from 400 through 1000 grit smooth and blend the area until it matches the surrounding plastic texture. On parts where stress whitening has formed around the nub site, a coat of Mr. Surfacer over the sanded area before any topcoat seals it cleanly. Work slowly on the first few parts to get the pressure right. The plastic on a 30-year-old kit is more brittle than new stock.
Detached parts: check the joint before you glue anything
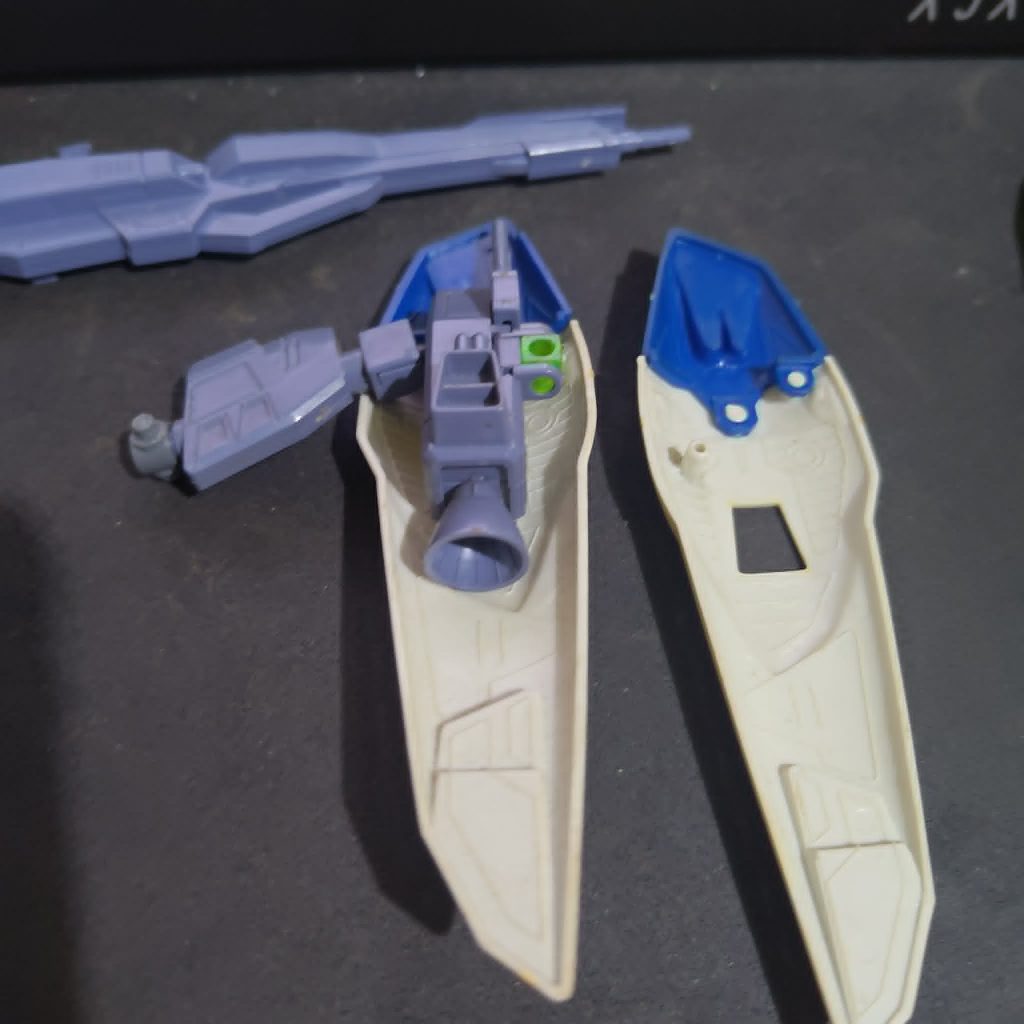
Both booster pods are off the body. The buster rifle is loose. A connector piece has separated from the hip assembly. None of these look like snapped pegs. They look like parts that worked loose over time and were never properly re-seated, which is a different problem with a different solution.
Before reaching for any adhesive, check whether the joint still has tension. If a polycap or ball joint still holds and clicks, the part just needs to be reattached with a light application of Tamiya Extra Thin Cement. If the joint is dead with no resistance, the connection needs to be rebuilt before the part goes back on. The method for that is stretched sprue: take a leftover runner scrap, hold both ends, apply gentle heat until the middle softens, pull slowly until it thins down, let it cool, and cut a replacement pin from the thinned section. Cement it into the joint socket. It holds better than the original peg because the cement welds the plastic rather than bonding two surfaces together.
Do not use super glue on Gunpla joints. It does not fuse ABS the way plastic cement does, it adds bulk to the joint rather than fusing it, and the repair will fail again under any real posing pressure.
Panel lining: surface work that was never done
No panel lining was done on original assembly because I had no idea it was a thing. On a kit with this much recessed detail, the torso vents, the leg armor panels, the shoulder armor edges, the absence of panel lining is the single most visible gap between a finished kit and an assembled one. It takes about twenty minutes across the whole kit and changes how every detail reads.
The process: apply Tamiya Panel Line Accent Color in black with the bottle’s built-in brush applicator, let it pool into the recesses through capillary action, then wipe the excess off the flat surfaces with a cotton swab dampened with enamel thinner. Black works for the darker blue and red sections. For the white and cream armor, gray reads more naturally than black, which would create too much contrast against already aged plastic. One practical note specific to this kit: gray panel lining on cream and tan plastic from UV oxidation actually looks better than it would on fresh white. The contrast lands at a more worn, used register. That suits a 30-year-old kit better than a factory-clean finish ever would.
What I am not doing
No retrobrighting. No full repaint. No replacement parts hunting for accessories that have been missing for decades. The kit is structurally sound, the patina is staying, and the goal is to finish what I started in the 90s properly this time, without erasing the thirty years in between. Same reason I still repair hardware instead of replacing it.
Repair log post coming once the work is done.